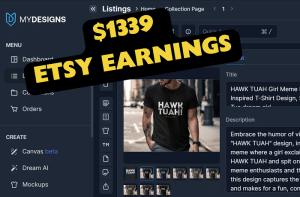
A Print on Demand Beginner Guide (Create — Upload — Sell)
Since I published my article about myDesigns, I’ve been receiving some questions about it.
So, I’ve decided to create a compact review / tutorial for you guys — from start to finish.
I’ll show you my complete way of working, of how I create designs and how I upload them to various platforms. Here we go.
Step 1: Research
For research, there are a bunch of methods you can use.
The best one is: Just be busy with Print on Demand. Things will come naturally. If you just browse websites like Etsy, Redbubble, Displate, Amazon Merch or others — you’ll see designs that you like.
Next, you put these designs in a listing analytics research tool, for example I like to use Everbee.io.

With this tool, you can see which designs are selling best, how much they sell for, how much the seller earns etc.
Hint: you can also use Roketfy.com or Alura.io, or any of the hundred other research tools there are out there. They all have a “Free version” with which you can test, so definitely try to leverage that 🙂
By checking these tools, you know if these designs & niche are profitable, and whether it’s worth your time to create designs in this niche.
During my research, I found some really cute fruits and animal kawaii style (= “cute” in Japanese) designs.
I know, perhaps the Kawaii market may be a bit saturated, but I have something in mind that I believe can get me some sales.
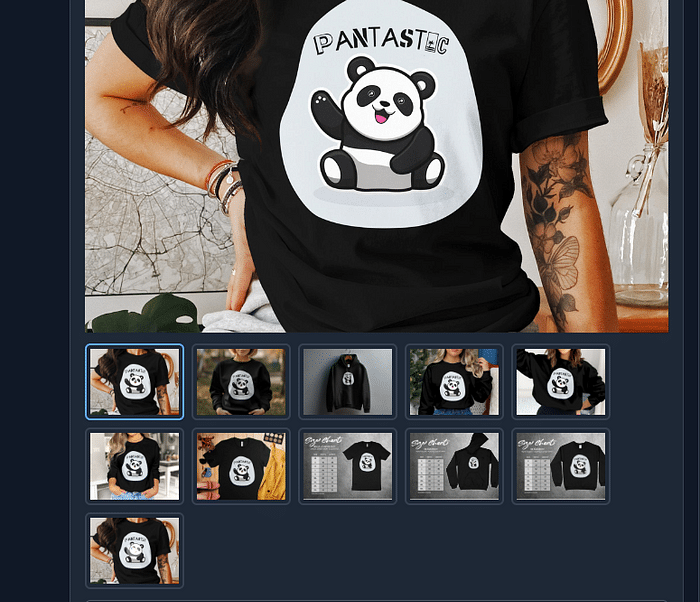
Let me give you an example; I found this listing — I really like it:

If I research this listing, I can see they generated a few sales (not that great but still — sales are sales. Profit is profit).

FYI, the info you can get via Roketfy is really nice:

Alright, I know that at least some designs in this style are selling, let’s just start designing now!
Step 2: Design Creation
For creating designs, there are a few tools that I use (separately, or together — depending on what I want to create).
Option #1: Create designs in Canva.com
Canva has a lot of great graphics and is a very powerful editing tool. Usually I use Canva if I need to design something.
In the screenshot you can see how many great graphics they have. Next, you can edit them — like I did:
- I added a background (so I can place my designs both on light and dark products) → ALWAYS do this!
- I added some cool / funny text to make it unique

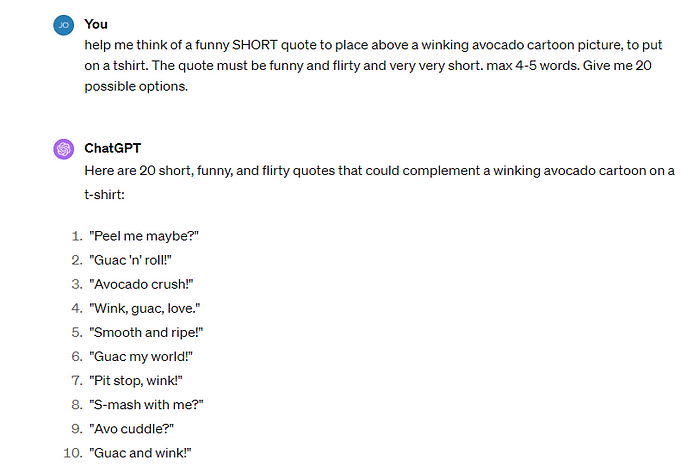
Hint: use ChatGPT to help you create funny quotes:
Option #2: Create designs with Kittl.com
Just like Canva, Kittl also has AMAZING looking graphics — and even more: they have complete editable templates.
For example; every element in the image below is separately editable:
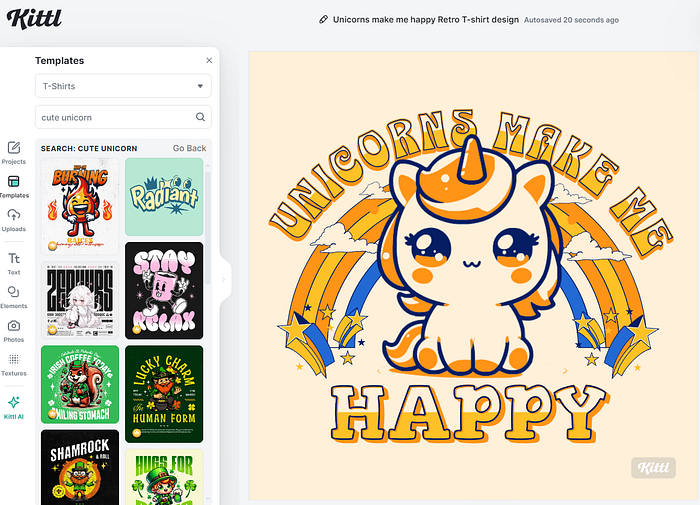
- I can edit / delete the text
- I can edit / delete the rainbow
- I can edit / delete the clouds
- I can edit / delete the shooting stars
- Don’t like these colors? No problem → Change them to something you like.
- Don’t like some elements? No problem → Delete or replace by something else.
Option #3: Create Designs with MyDesigns AI Generator
Before we dive into this — I’d like to say that both Canva and Kittl also have AMAZINGLY GOOD AI Image Generators.
Especially the new one (AI Image Generator V2) from Kittl recently blew my mind — I wrote an article about it here.
I need to say that Kittl’s AI generator is currently BETTER than the one from MyDesigns, however the guys from MyDesigns are constantly working on improving their tool (they have a really active community), so it’ll only be a matter of time before they catch up.
That being said, let’s test it out:
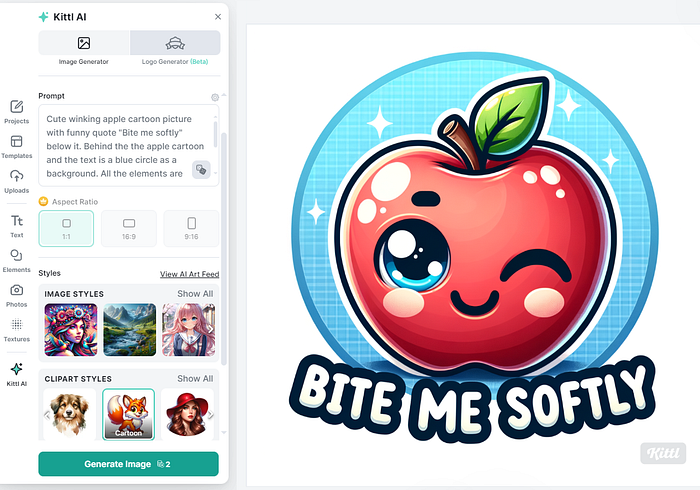
Prompt: Cute winking apple cartoon picture with funny quote “Bite me softly” below it. Behind the the apple cartoon and the text is a blue circle as a background. All the elements are within the blue circle. around it is transparent background.
Result:

As you can see — the result isn’t that great.
This is because MyDesigns’ image generator doesn’t really do “text in images” yet.
Well, it doesn’t really matter, because you can just generate the apple and manually add your text to it — problem solved.
But on the other hand — Kittl’s new AI CAN do this, so just for testing’s sake, let’s hop over to Kittl & give the same prompt a try.
Well, well, would you look at that!
Alright, playtime is over.
It doesn’t matter whatever method you use, just make sure that the designs are high quality and that the text is clearly readable (POD 101).
Whenever you have created some designs, you can hop to the next step: Uploading them.
Step 3: Upload to Market Places
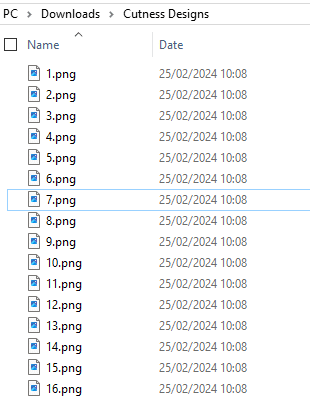
In the previous step, I have created 16 designs. Let’s now upload them.
For uploading, you have 2 options:
- Manual upload
- Automated upload via an upload tool.
Let’s go over both methods, but I’m mainly going to focus on the automated upload.
Option #1: Manual upload
I want to upload these designs to the following platforms:
- Redbubble
- TeePublic
- Etsy
- Displate (actually — no. I won’t upload these designs to Displate because for Displate I have a different style & method. If you’re interested I’ll cover that in another post).
- Merch By Amazon
Question: what do we need, BEFORE we can upload our designs?
Answer:
- a Title
- a Description
- Keywords
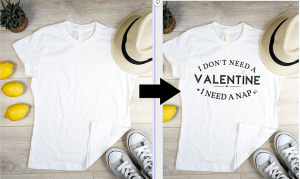
- Mock-ups (especially for Etsy).
So, where do we get this info?
- Option #1: From our “example listings”
- Option #2: From our research tools (everbee.io, alura.io, roketfy.com, podcs.com, etsyhunt.com… etc)
- Option #3: Generate them with AI.
I’m going with Option #3.
- I upload all my designs to MyDesigns
- I select them all and click on “Vision AI”
- I enter the necessary fields (all of them are by default filled in, except I added “Bella 3001” under product features)
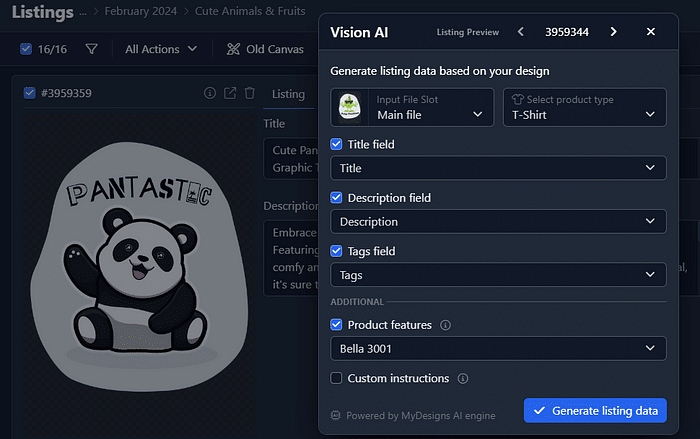
What is Vision AI?
Vision AI is a feature that uses AI to analyse your design files, to automatically generate optimized product titles, tags, and descriptions for your listings.
The result:
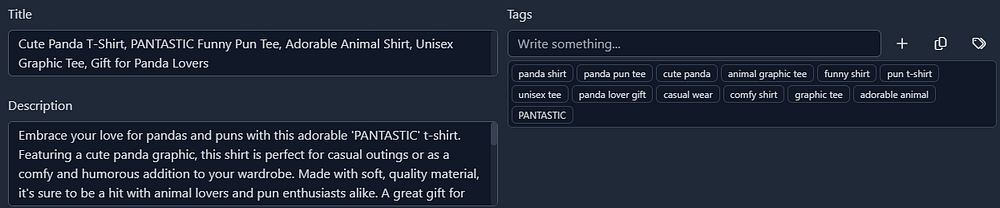
And the best thing is: it did it for ALL of my 16 listings.
I didn’t do ANYTHING manually! Insane.
Okay, we can upload our design to Etsy like this (and just copy/paste the info that was generated above), but unfortunately not to Redbubble.
In Redbubble, you upload a design and it immediately applies it to 50+ products. So I can’t use a title which says “T-shirt”, right?
This means that for Redbubble, TeePublic (and Displate), I’ll have to edit my data a little bit. I can simply use ChatGPT to generate SEO-optimized listing info for me, or I can use some tag generators like the ones from PodCS.com or MerchTitans.com:

Or just use ChatGPT:
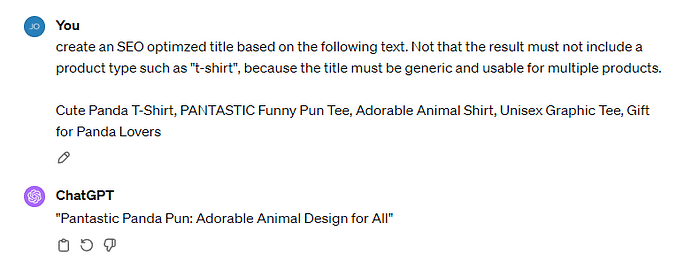
Result:

Next you can just copy/paste this stuff into a Teepublic listing or other platforms.
Option #2: Automatic Upload
While the goal of this post is “MyDesigns”, I quickly want to mention MerchTitans as well.
If you want to publish on multiple platforms, you can use “Upload Automation” software called Merch Titans Automation — I played around with it a bit in the past, it can save you a lot of time but it takes a while getting used to. They support a bunch of platforms:

But in this tutorial, I’m going to upload to Etsy.com by using MyDesigns.io.
P.S. Before we start — It’s worth mentioning that in case you don’t have an Etsy shop yet — you can open one by using this link. You’ll get 40 free listings (and save $0.20 PER listing, because you need to pay in order to publish stuff on Etsy) — so you’ll SAVE $8.
Ok let’s hop back into MyDesigns.
- I already finished my SEO (with Vision AI)
- Now I need to create mockups.
P.S. If you would want to use Vision AI or MyDesigns’ mockup creation tool, you need to upgrade to their Pro plan (which is around $270 for a year, or $29.99/month). IMO it’s definitely worth it — but up to you ofcourse.
Bulk Mockup Creation
Just click on “Mockups” & select “Create Image Mockup”.
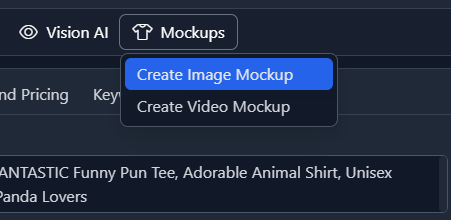
In the next screen, you can select the mockups that you like.
Note that you can also add mockups from other products, like sweatshirts and hoodies (select Multi-product on top)!

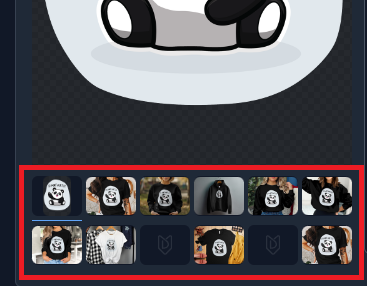
Simply select some mockups that you like and press “Generate mockups” on top right. No need to play around with colors or so — just leave everything as default.
Next, MyDesigns will generate mockups for EVERY LISTING that you selected, and fill up the slots:
You can also create video mockups the same way, and that’s it. Now we can already start Publishing.
With MyDesigns, you can now Publish to:
- Etsy.com
- Shopify.com
- (coming soon) Amazon integration (!!!!)
Publishing your Products
There are 6 steps to publish your products via myDesigns:

1. Data: review your data for every listing
Click next. If there’s an error somewhere in your listing info, it will be displayed here.
2. Product & Partner: Select on which product(s) you’ll sell
Note that I put the “s” between brackets.
This is because on this page, you only select your “main product” (which in my case are T-shirts — Bella 3001).
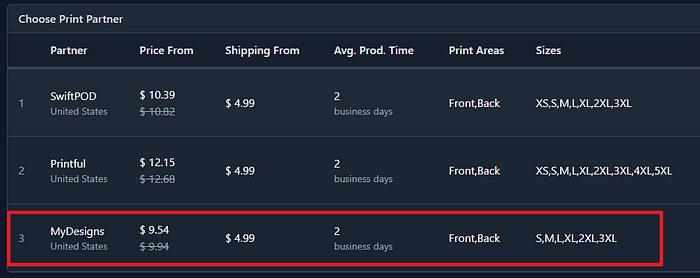
3. Partner
You’ll be redirected to the following step, where you select your production partner (I select the cheapest one, in this case it’s MyDesigns).
However, in my mockup generator I created mockups for T-shirts, Sweatshirts AND hoodies. So, it’s important that we also add these 2 other products and their production partners somewhere.
And that’s done in the following step:
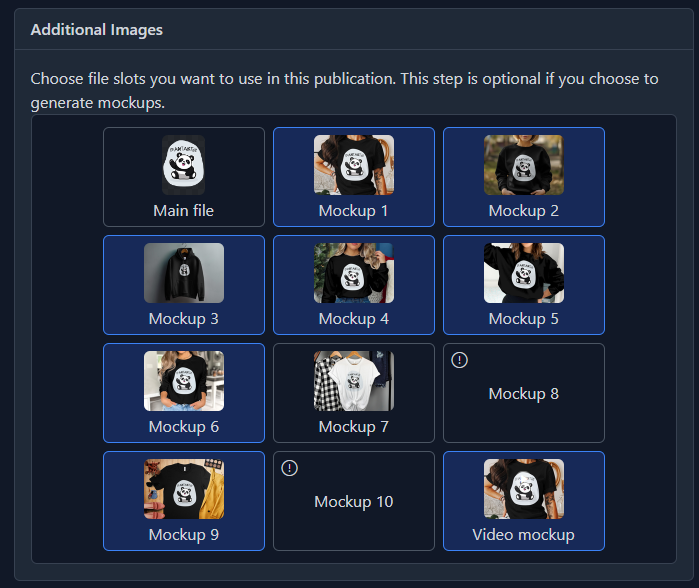
4. Mockups
This step requires quite a bit of configuration.
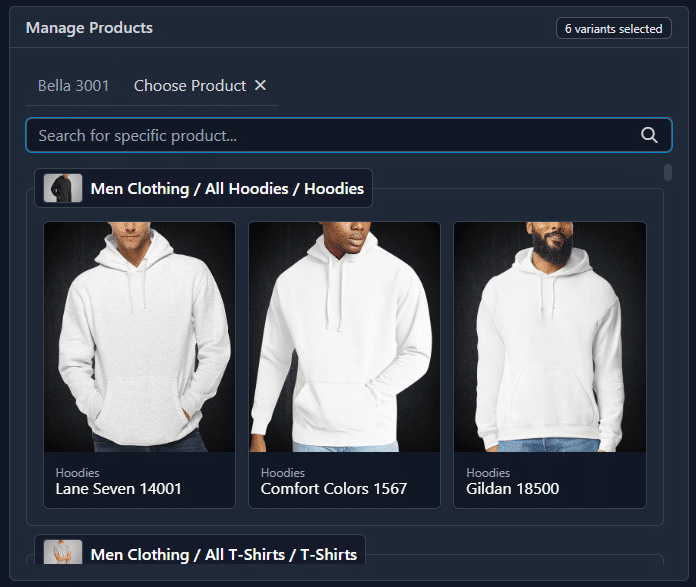
- You need to add the 2 other products — sweatshirts & hoodies
- You need to select your mockups
- You need to select your colors
- You need to add sizing charts
- And you need to make sure that every mockup is displayed correctly and in the correct order
So first, let’s add the other 2 products.

Select your product (I created mock-ups for Gildan 18000 and Gildan 18500, so I’ll select these two — one by one).
And select the production partner for this Gildan 18500:

Do the same for the Gildan 18000.
Great. Now comes the hardest part: Selecting & finetuning your listing with the correct mockups.
Step 1: For T-Shirts, select all the colors that you like to sell. Note: Do not select TOO MANY colours, because there’s a limit to what you can publish to Etsy in 1 listing (400 items).
And then you’ll get an error as follows:

So, don’t select too many colors:
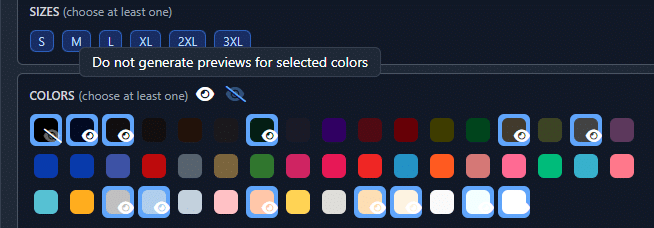
Next, click on the “eye with a stripe through”: Do not generate previews for the selected colors. This will delete all the previews. You don’t want these (because we generated our own mockups).
Step 2: Repeat the same for the other 2 products.
Perfect. Now you scroll down, and select the mockups you’ve created.
Step 3: Select your mockups
Step 4: Add sizing charts: For every product, add a sizing chart (and a color).
Step 5: Arrange your product mockups / images. Place your video last.

Alright, looks great! Now we can put our prices.
5. Pricing
For the 3 selected products, I would recommend setting the following prices (I’ll explain these prices below):
- T-shirts: $24.99
- Hoodies: $32.99
- Sweatshirts: $29.99
Also, we need to edit some prefixes, because otherwise it will display your products as follows:
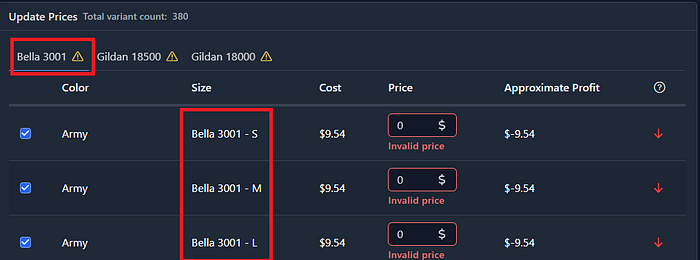
To you it might not seem like an issue, because WE know what Bella 3001 is… but imagine shopping for a listing on Etsy, and instead of “Adult Unisex Shirt”, you see “Bella 3001”. That would be quite confusing to our customers, no?
This is an example of how it should be:
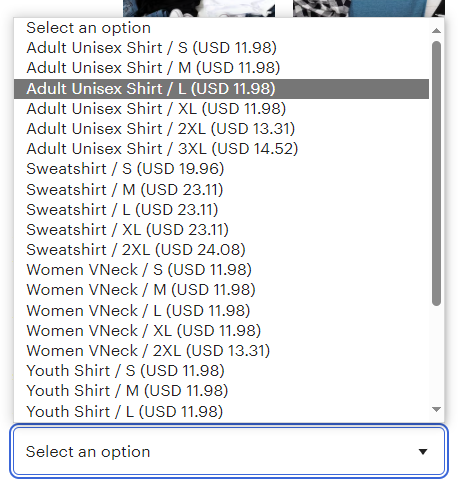
So, after editing & setting your prices (you can add/edit a prefix on the left side of the page), it should look as follows:
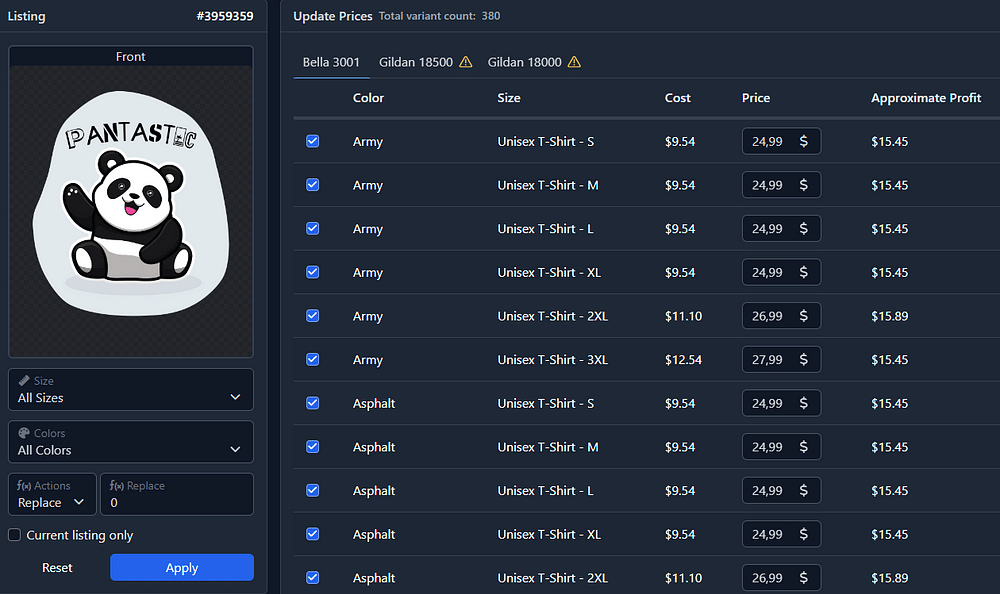
You might think this price of $24.99 is quite high, BUT this has a few reasons:
- I’m running Etsy discounts, which brings the price to around $19.99
- I use a “loss leader”, which means that for example I will price the “Heather Peach, Small” at a price of $17.99. So, in the Etsy homepage my listing will show up at $17.99 (or less, when discount is applied).
- If I decide to run Etsy ads, I need to calculate in these costs
- Plus, if people really like your design, they’ll get it. Regardless of the “higher price”.

Repeat the above for the other 2 products.
6. Preview & Publish
Cool! We’re done in MyDesigns.
Now our products will get pushed to Etsy, where we can just “publish” them for sale!
Done!

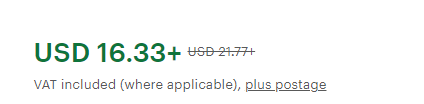
AND with a great price! (Remember our “loss-leader” strategy?)
That’s all! This is how you create & publish designs from A-Z.
I hope this tutorial was clear — if you have any questions, don’t hesitate to shoot me a message in the comments! I check them all!
Cheers,
Michiel
Thanks for reading!
If you’ve got questions or thoughts, drop them in the comments and I’ll get back to you! Follow or ???? if you’d like to see more content like this. Or buy me a coffee, this stuff is magical 😉